Create a Kubernetes Cluster on windows for FREE
If you’re just getting started with Kubernetes and want a simple way to experiment locally, KinD is a great option.
KinD stands for Kubernetes in Docker, and it lets you run a Kubernetes cluster right on your laptop using Docker containers.
This guide explains how to set up a KinD cluster on a Windows laptop, for free.
Why Use KinD
- Runs entirely on your local machine
- Uses Docker to simulate Kubernetes nodes
- Great for learning and testing
Prerequisites
To set this up, I already had:
- Download and install Docker Desktop: docker-desktop
- Terminal to access cluster: Git Bash
- Kubernetes CLI: kubectl
- HELM: HELM
Setting Up KinD CLI in Git Bash on Windows
Step 1: Download kind binaries kind-windows-amd64.exe KinD
Step 2: Rename the file to kind.exe
1
mv ~/Downloads/kind-windows-amd64.exe ~/Downloads/kind.exe
Step 3: Create a folder and move kind.exe binary to C:\kind
1
2
mkdir -p /c/kind
mv ~/Downloads/kind.exe /c/kind/
Step 4: Add C:\kind to the Windows system PATH
- Open Start Menu → search “Environment Variables”
- Click Environment Variables
- Under System Variables, find and select
Path→ click Edit - Click New and add
C:\kind - Click OK to save
Step 5: Verify the installation
Close and reopen Git Bash, then run:
1
2
3
kind version

kind v0.22.0 go1.22.2 windows/amd64
This confirms kind is installed and ready to use.
Create a Cluster
Step 1: Create the Kind Config File kind-cluster-config.yaml
extraPortMappings helps to expose your applications locally. This ensures port 31034 from the Kind container maps to your Windows localhost. You can add any number of ports and create cluster.
1
2
3
4
5
6
7
8
9
10
kind: Cluster
apiVersion: kind.x-k8s.io/v1alpha4
nodes:
  - role: control-plane
    extraPortMappings:
      - containerPort: 31034
        hostPort: 31034
        protocol: TCP
  - role: worker
  - role: worker
Step 2: Create the Cluster. Open your terminal and run command
1
kind create cluster --name my-cluster --config kind-cluster-config.yaml
Step 3: Verify the Cluster Once the cluster is created, verify the nodes with
1
2
3
4
5
6
7
8
9
10
11
12
13
[git@vamsi194 ~]# kind create cluster --name my-cluster --config kind-cluster.yaml
Creating cluster "my-cluster" ...
 ✓ Ensuring node image (kindest/node:v1.29.2) 🖼
 ✓ Preparing nodes 📦 📦 📦
 ✓ Writing configuration 📜
 ✓ Starting control-plane 🕹️
 ✓ Installing CNI 🔌
 ✓ Installing StorageClass 💾
 ✓ Joining worker nodes 🚜
Set kubectl context to "kind-my-cluster"
You can now use your cluster with:

kubectl cluster-info --context kind-my-cluster
Step 4: Verify the cluster
1
2
3
4
5
[git@vamsi194 ~]# kubectl get nodes
NAME                       STATUS   ROLES           AGE     VERSION
my-cluster-control-plane   Ready    control-plane   2m38s   v1.29.2
my-cluster-worker          Ready    <none>          2m17s   v1.29.2
my-cluster-worker2         Ready    <none>          2m14s   v1.29.2
Exposing application service locally
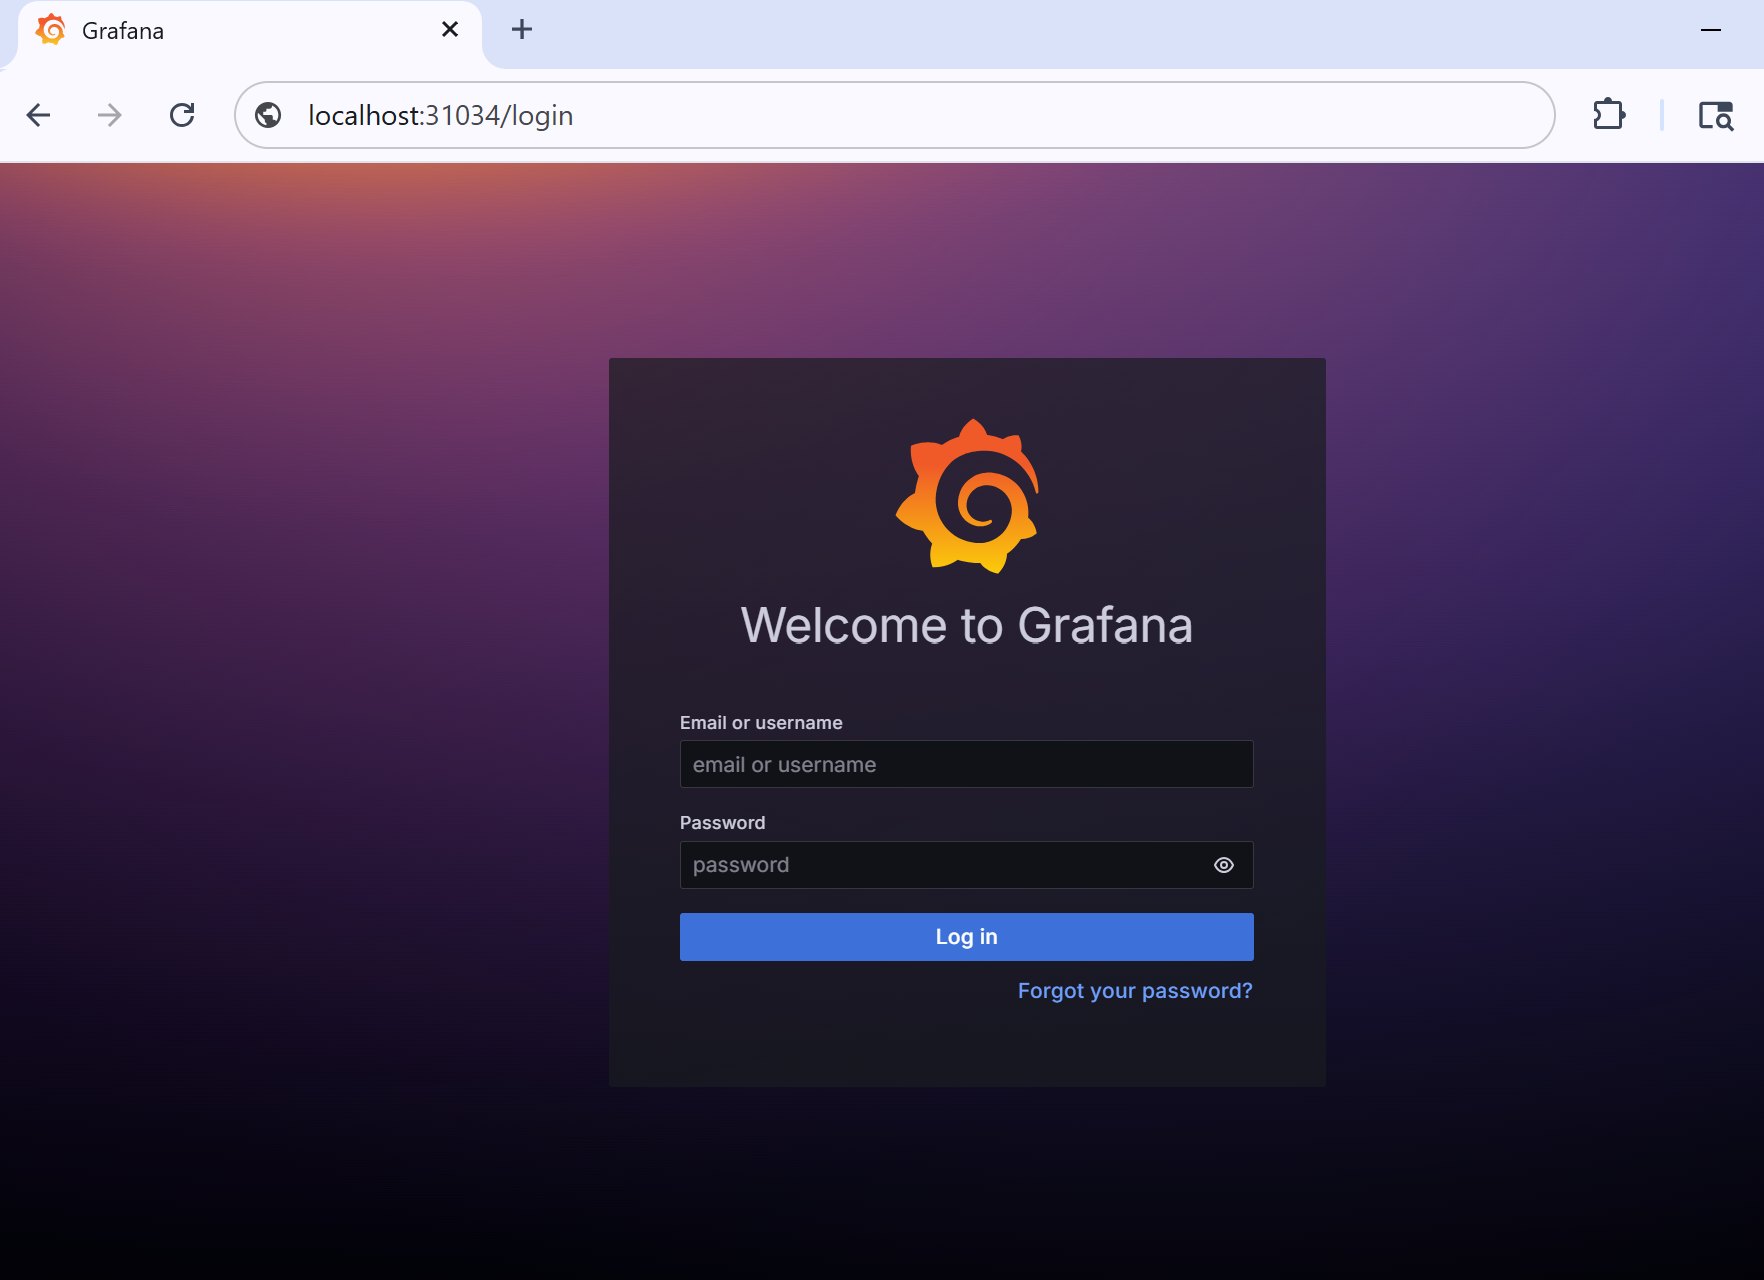
I’m installing grafana application via HELM to verify the process
1
2
3
4
5
6
7
8
[git@vamsi194 ~]# helm repo add grafana https://grafana.github.io/helm-charts
"grafana" has been added to your repositories


[git@vamsi194 ~]# helm repo update
Hang tight while we grab the latest from your chart repositories...
...Successfully got an update from the "grafana" chart repository
Update Complete. ⎈Happy Helming!⎈
Creating Custom Values grafana-values.yaml for accessing the service on specific port 31034
1
2
3
4
5
6
7
8
service:
  type: NodePort
  port: 80
  targetPort: 3000
  nodePort: 31034

adminUser: admin
adminPassword: admin
Installing and verifying the service status on the cluster
1
2
3
4
5
6
7
8
9
10
11
12
13
14
15
[git@vamsi194 ~]# helm install grafana grafana/grafana -f grafana-values.yaml
NAME: grafana
LAST DEPLOYED: Thu Jul  3 20:12:44 2025
NAMESPACE: default
STATUS: deployed
REVISION: 1

[git@vamsi194 ~]# kubectl get pods
NAME                       READY   STATUS    RESTARTS   AGE
grafana-78b7855d8b-f4ktn   1/1     Running   0          42s

[git@vamsi194 ~]# kubectl get svc
NAME         TYPE        CLUSTER-IP     EXTERNAL-IP   PORT(S)        AGE
grafana      NodePort    10.96.65.126   <none>        80:31034/TCP   46s
kubernetes   ClusterIP   10.96.0.1      <none>        443/TCP        22m
Access the service locally through browser..